
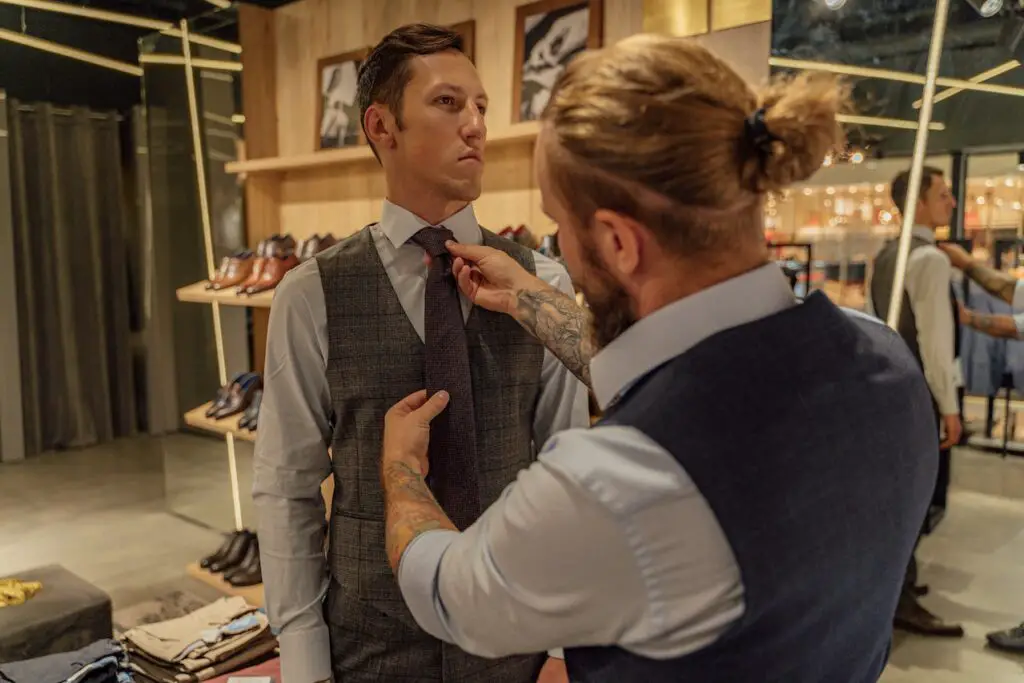
In the world of men’s fashion, the perfect fit can make all the difference. There’s an undeniable confidence that comes from wearing clothes that hug your frame just right, accentuating your best features. As someone who’s been down the road of ill-fitting attire, I’ve discovered the transformative power of DIY tailoring.
It’s not just about altering fabric; it’s about crafting a style that speaks to your individuality. In this guide, I’ll be sharing my personal journey and five indispensable tailoring tips that have revolutionized my wardrobe. Get ready to unlock the secrets of dapper DIY tailoring and watch your clothes come to life.
Why Tailoring Matters: Elevating Your Style Beyond Measure
Tailoring is the ultimate secret weapon that can elevate your style to new heights. It’s not merely about looking good; it’s about feeling exceptional. Imagine walking into a room with the confidence of a perfectly tailored suit or the comfort of a shirt that fits like a second skin. That’s the magic of tailoring, and here’s why it matters.
Confidence Boost
Ill-fitting clothing can do a number on your self-esteem. You constantly tug at sleeves, adjust waistbands, or fidget with collars, distracting you from the task at hand. Tailoring erases these concerns. When you know your attire complements your physique flawlessly, you stand taller, project confidence, and command attention.
Personalized Style
Off-the-rack clothing is designed with generic measurements, leaving little room for personal expression. Tailoring allows you to shape your style to your liking. Whether you prefer a classic, slim fit or a more relaxed look, you’re in control.
Enhanced Comfort
Well-tailored clothes aren’t just about appearances; they’re about comfort too. Fabric that drapes correctly, seams that don’t chafe, and lengths that suit your body ensure you feel at ease all day long.
Attention to Detail
Tailoring involves meticulous attention to detail. Every stitch, every fold, and every adjustment is made with precision. It’s this commitment to excellence that sets tailored clothing apart from the rest.
Related: Upgrade Your Workwear: 12 Essential Pieces for a Stylish Office Wardrobe

Setting the Stage: Essential Tools and Materials
Before we dive into the intricacies of DIY tailoring, it’s crucial to assemble the right arsenal of tools and materials. Think of these as your trusty companions on the sartorial journey you’re about to embark on. They are the building blocks of a well-executed tailoring project, and having them at your fingertips can make all the difference.
Measuring Tape
At the heart of tailoring lies precision, and a measuring tape is your best friend in this regard. Opt for a flexible, soft measuring tape that can wrap around curves and contours with ease. It’s your ticket to accurate measurements, which are the cornerstone of any successful tailoring endeavor.
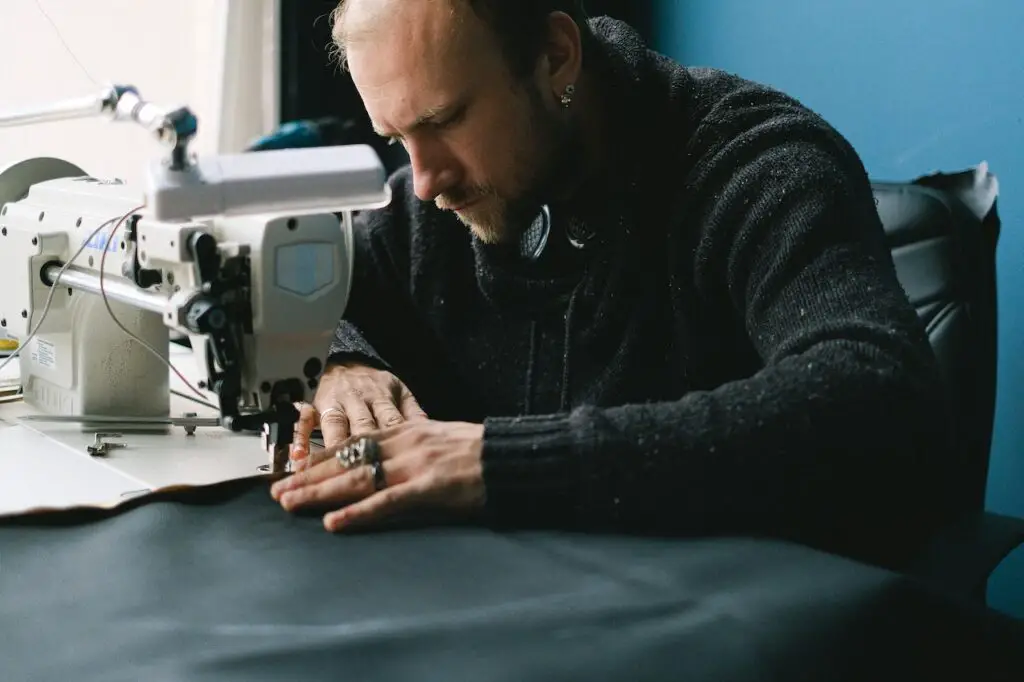
Sewing Machine (Optional but Highly Recommended)
While some minor alterations can be done by hand, having a sewing machine at your disposal greatly speeds up the process and ensures professional results. If you’re new to sewing, consider investing in a basic sewing machine and familiarizing yourself with its functions.
Thread in Various Colors
A well-stocked thread collection is indispensable. Ensure you have a variety of thread colors to match different fabrics, as mismatched thread can be a telltale sign of amateur tailoring.
Sewing Needles
Even if you have a sewing machine, hand-sewing needles are essential for precision work, securing loose ends, and delicate repairs.
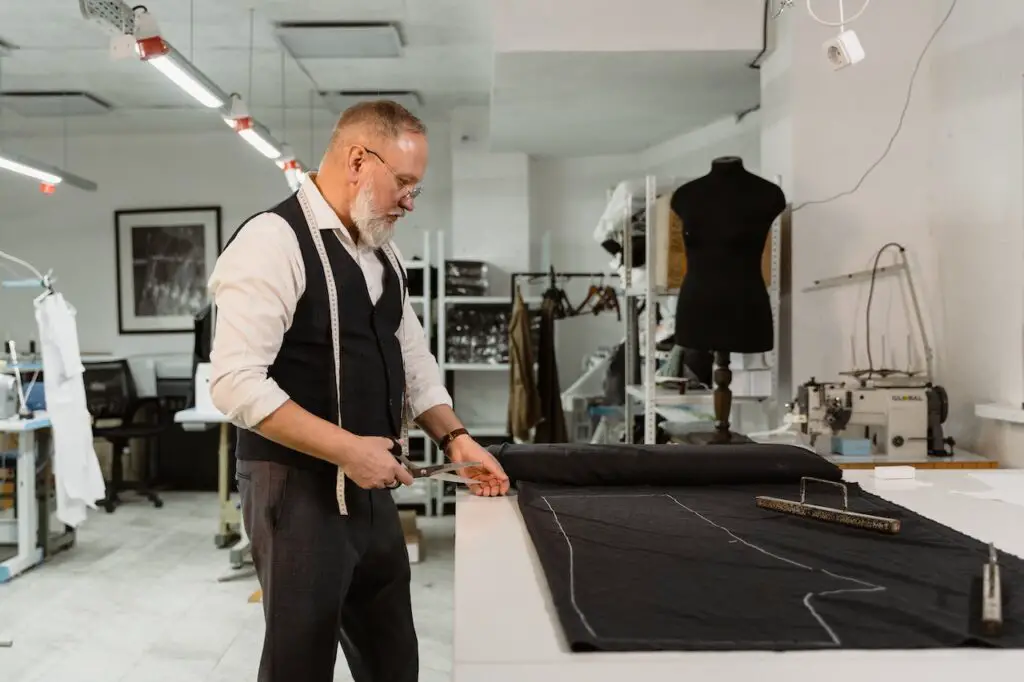
Fabric Scissors
A good pair of fabric scissors is a must-have. They should be sharp and dedicated solely to cutting fabric to avoid fraying.
Pins or Clips
These are your tools for temporarily holding fabric in place while sewing. They prevent fabric from shifting and help maintain accuracy.
Iron and Ironing Board
Pressing and ironing play a significant role in tailoring. A well-pressed garment makes sewing easier and ensures a polished final product.
Fabric Chalk or Marking Tools
These help you mark fabric for alterations without leaving permanent stains or marks.
Seam Ripper
Mistakes happen, even to the most experienced tailors. A seam ripper is a handy tool for undoing stitches without damaging the fabric.
Related: The Power of Blue: Elevate Your Style with a Trendy Men’s Blue Suit
Measuring Up: Taking Accurate Measurements
Precision is the essence of tailoring, and it all starts with taking precise measurements. Whether you’re altering a suit, adjusting a shirt, or hemming a pair of pants, the measurements you take will determine how well your garment fits in the end. Here’s a step-by-step guide to help you get it right:
Use a Flexible Measuring Tape
Invest in a soft, flexible measuring tape. It should bend easily to conform to your body’s contours. Rigid tape measures won’t yield accurate results.
Measure Snug, Not Tight
When measuring, keep the tape snug against your body, but not so tight that it compresses your skin or clothing. The idea is to capture your body’s true dimensions without distortion.
Maintain a Natural Posture
Stand up straight with your feet together, arms relaxed at your sides, and your weight evenly distributed. For certain measurements, like inseam, it’s essential to maintain a natural posture to get accurate results.
Ask for Assistance
While some measurements can be taken solo, it’s often easier and more accurate to have someone help you. For example, measuring the circumference of your chest or hips is more precise when someone else holds the tape.
Double-Check and Record
After taking each measurement, double-check it to ensure accuracy. Record each measurement as you go along to avoid forgetting any crucial details.
Special Attention to Trouser Measurements
When measuring for trousers, be sure to wear the shoes you intend to pair with them. This ensures the length is appropriate, and the trousers will drape correctly.
Keep a Record
Maintain a record of your measurements. This can be in a notebook, a digital document, or even a note on your phone. Having this information readily available will save you time and effort in future tailoring projects.
Related: Dress to Impress: Essential Tips for Nailing the Black Tie Event Dress Code for Men
Sewing Basics: Getting Started
Now that we’ve covered the importance of precise measurements, it’s time to delve into the basics of sewing. Sewing might seem like a daunting task if you’re new to it, but with a little practice and patience, you’ll discover that it’s a skill well worth acquiring.
Learn the Stitches
Sewing relies on different types of stitches, each serving a specific purpose. The most common stitches used in tailoring are the straight stitch and the zigzag stitch. The straight stitch is your go-to for basic seams and hems, while the zigzag stitch helps prevent fraying along fabric edges. Familiarize yourself with these stitches, as they form the foundation of most tailoring projects.
Thread the Machine
If you’re using a sewing machine, learning how to thread it properly is essential. Consult the machine’s manual for detailed instructions. Ensure you use the correct type and color of thread for your project.
Practice on Scrap Fabric
Before you start altering your precious clothing, practice on scrap fabric. This will help you get comfortable with your machine’s settings, stitch length, and tension adjustments.
Understand Seam Allowance
Seam allowance refers to the distance between the edge of the fabric and the line of stitching. It’s crucial to follow the recommended seam allowance for your project, as it affects the fit of the garment.
Master the Backstitch
A backstitch is a reverse stitch that secures the beginning and end of a seam. It prevents your stitches from unraveling over time. Learn how to backstitch at the start and finish of each seam to lock your stitches in place.
Press as You Go
Proper pressing is as important as sewing itself. Use an iron to press seams open, flat, or to one side, depending on the project’s requirements. This step gives your work a professional finish.
Hemming Pants and Trousers
One of the most common and rewarding DIY tailoring projects for men is hemming pants and trousers. This relatively simple alteration can drastically improve the fit and appearance of your lower garments, making them look as if they were custom-made for you. Here’s how to get it done:
1. Gather Your Tools: Before you begin, ensure you have the necessary tools: fabric scissors, pins or clips, a sewing machine or needle and thread, measuring tape, and an iron. Having everything ready will streamline the process.
2. Try Them On: Put on the pants with the shoes you intend to wear with them. Stand in front of a full-length mirror and fold the excess fabric up to the desired length. Mark the new hemline with pins or chalk while ensuring the pants hang evenly.
3. Measure and Pin: Take off the pants and lay them flat on a clean surface. Measure the distance from the current hem to the new hemline you marked. This measurement is your fold-up amount. Fold the fabric up by this amount, pinning it in place as you go around the leg openings.
4. Adjust as Needed: Double-check that the new hemline is even on both legs. Adjust as necessary to ensure the pants hang straight. It’s crucial to maintain consistency here.
5. Stitch the Hem: If you’re using a sewing machine, stitch along the new hemline, removing pins as you go. For hand-sewing, use a straight stitch and ensure your stitches are neat and secure.
6. Press the Hem: After stitching, press the new hem flat with an iron. This step not only sets the stitches but also gives the pants a polished appearance.
Related: Paul Newman’s Fashion Legacy: A Timeless Guide to Effortless Style

Taking in or Letting Out: Adjusting Shirt Fit
A well-fitted shirt can make a significant impact on your overall appearance. Whether it’s a dress shirt, casual button-down, or even a t-shirt, knowing how to adjust the fit can breathe new life into your wardrobe. Here, we’ll explore the art of taking in or letting out shirts to ensure they fit you like they were tailor-made.
1. Assess the Fit: Start by putting on the shirt you want to adjust. Stand in front of a mirror and assess the fit. Pay attention to areas that feel too loose or too tight. Common problem areas include the sides, chest, and sleeves.
2. Determine the Alterations Needed: If the shirt is too baggy, you’ll want to take it in. If it’s too tight, you’ll need to let it out. Identify the specific areas that require alteration.
3. Seam or Dart? Depending on the extent of the adjustment, you can either create new seams along the sides or add darts for a more tailored fit. Seams work well for significant changes, while darts are suitable for minor adjustments.
4. Pin and Fit: For taking in, pin along the new seam line or dart lines, making sure to maintain symmetry on both sides. For letting out, create an opening by carefully removing stitches along the seams and stitch a new seam further out, allowing more fabric.
5. Try On and Adjust: Put the shirt back on to check the fit. Make any necessary adjustments by repinning or restitching as needed. The goal is to achieve a fit that is comfortable and flattering.
6. Finish with a Press: After you’re satisfied with the fit, press the altered areas with an iron. This step sets the stitches and gives your shirt a polished look.
Related: Get That A-List Look: Embrace Brad Pitt’s Signature Style Today
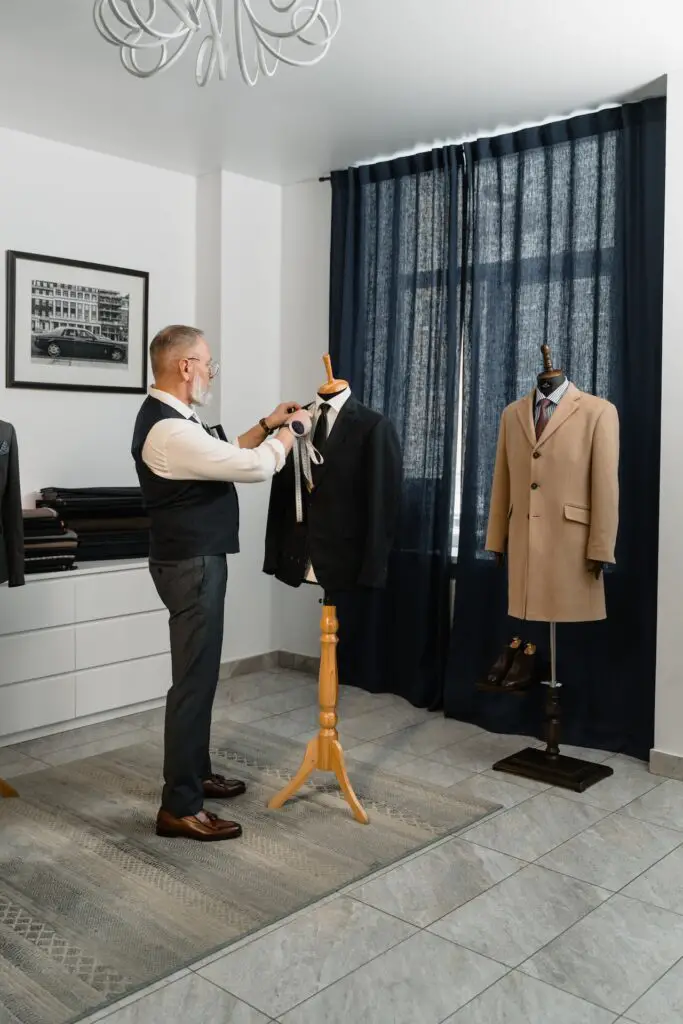
Taming the Jacket: Tailoring Blazers and Jackets
Tailoring blazers and jackets requires precision but can significantly enhance your appearance. Start by assessing the fit while wearing the jacket and identify areas that need adjustment. Common areas include the shoulders, chest, waist, and sleeve length. For complex alterations, it’s advisable to consult a professional tailor.
Shoulder adjustments are intricate and best handled by professionals, involving deconstructing and reconstructing the jacket. However, you can enhance the fit by tapering the sides, creating a slimmer profile. Pin along the sides to mark the new seam lines and then stitch for a more tailored look.
Sleeve length can be adjusted by repositioning the cuffs. If the sleeves are too long, pin them to the desired length and stitch accordingly. Ensure both sleeves are even for symmetry.
Finally, consider adjusting the jacket’s waist to achieve a more fitted appearance. Pin along the sides of the waist and stitch as needed. Once satisfied with the fit, press the altered areas with an iron for a polished look.
Conclusion
In the realm of men’s fashion, DIY tailoring is the key to unlocking personalized style and boosting confidence. Accurate measurements are the first step, ensuring that your clothes fit impeccably.
From hemming pants to adjusting shirt fit, each tailoring project offers a chance to elevate your look. Well-fitted clothing not only enhances your appearance but also reflects your attention to detail and individuality.
Remember, practice is the path to perfection in the world of tailoring. Embrace the journey, be patient, and enjoy the transformation of ordinary garments into customized pieces.
With these essential tailoring tips, you now have the skills and tools to revamp your wardrobe. So, step into the realm of dapper DIY tailoring, redefine your style, and exude newfound confidence. Your clothes will fit like a glove, and your fashion journey will never be the same.
FAQ
A. What are the essential tools for DIY tailoring?
Essential tools for DIY tailoring include:
Measuring tape
Sewing machine (optional but highly recommended)
Thread in various colors
Sewing needles
Fabric scissors
Pins or clips
Iron and ironing board
Fabric chalk or marking tools
Seam ripper (for correcting mistakes)
These tools will help you accurately measure, cut, and sew your clothing for a customized fit.
B. How can I measure myself accurately for tailoring?
To measure yourself accurately for tailoring, follow these steps:
Use a flexible measuring tape.
Measure chest, waist, hips, shoulders, sleeve length, and inseam for pants.
Measure snugly but not tightly, and maintain a natural posture.
Have a friend or family member assist for precise measurements.
Double-check your measurements to ensure accuracy.
Accurate measurements are crucial for achieving a well-fitted result.
C. What are some common mistakes to avoid when tailoring clothes?
Common mistakes to avoid in DIY tailoring include:
Cutting fabric too short or unevenly.
Using the wrong type of stitch or thread for the fabric.
Neglecting to test alterations before permanent sewing.
Rushing the process without proper preparation or planning.
Overlooking the importance of pressing and ironing during sewing.
Take your time, practice on scrap fabric, and be attentive to detail to avoid these errors.
D. Is it possible to tailor suits and formal wear at home?
Yes, it’s possible to tailor suits and formal wear at home, but it can be challenging, especially for beginners. Basic alterations like hemming pants or adjusting shirt fit can be done with some sewing skills, but more complex alterations, such as altering suit jackets, may require advanced sewing knowledge.
For important or complex alterations, consider consulting a professional tailor to ensure the best results.
E. Can I learn tailoring without any prior sewing experience?
Yes, you can learn tailoring without prior sewing experience, but it may take some time and practice. Start with simpler projects, like hemming pants or taking in shirts, to build your sewing skills. There are many online tutorials, books, and classes available to help beginners get started.
Be patient with yourself and don’t be discouraged by initial mistakes – practice makes perfect in the world of tailoring.
